Film 210: Week 1
Basic Script Formatting
Welcome to your first lesson! In this lesson you'll learn:
- the purpose of a script
- parts of a script
- the fundamentals of basic script formatting
Let’s begin!
What is a script?
A script is a blueprint of your story for the cast and crew. It is used in the production of your film and follows specific technical formatting requirements while engaging the reader's emotions.
During film production, a script may go through several versions—from the spec script a writer initially creates, to shooting scripts with added technical elements, to production drafts with scene numbers and revisions.
In this class, we'll focus on writing spec scripts—the version new writers create to showcase their stories to producers and studios.
Our Tools to Write
Textbook
Our main reference guide for this class is David Trottier's The Screenwriter's Bible:
Amazon (7th ed.) | Chapters/Indigo (6th ed.) | Regina Public Library | Open Library
Scriptwriting Programs
Many programs handle formatting issues like margins, tabs, and title pages. Try several free or freemium options before committing to a paid version.
Here is a list of scriptwriting programs I’ve tried and tested or were recommended by my students.
As a student, I encourage you not to pay. Use a free version or freemium (free with paid upgrades) version. It is okay if there is a watermark on your script for this class.
Once you have your scriptwriting software, play with it, get comfortable with it. If you don’t like it, switch to a new one.
What a script looks like
Let's look at actual screenplay pages to understand what professional scripts look like. These examples demonstrate the standard formatting elements used in the industry.
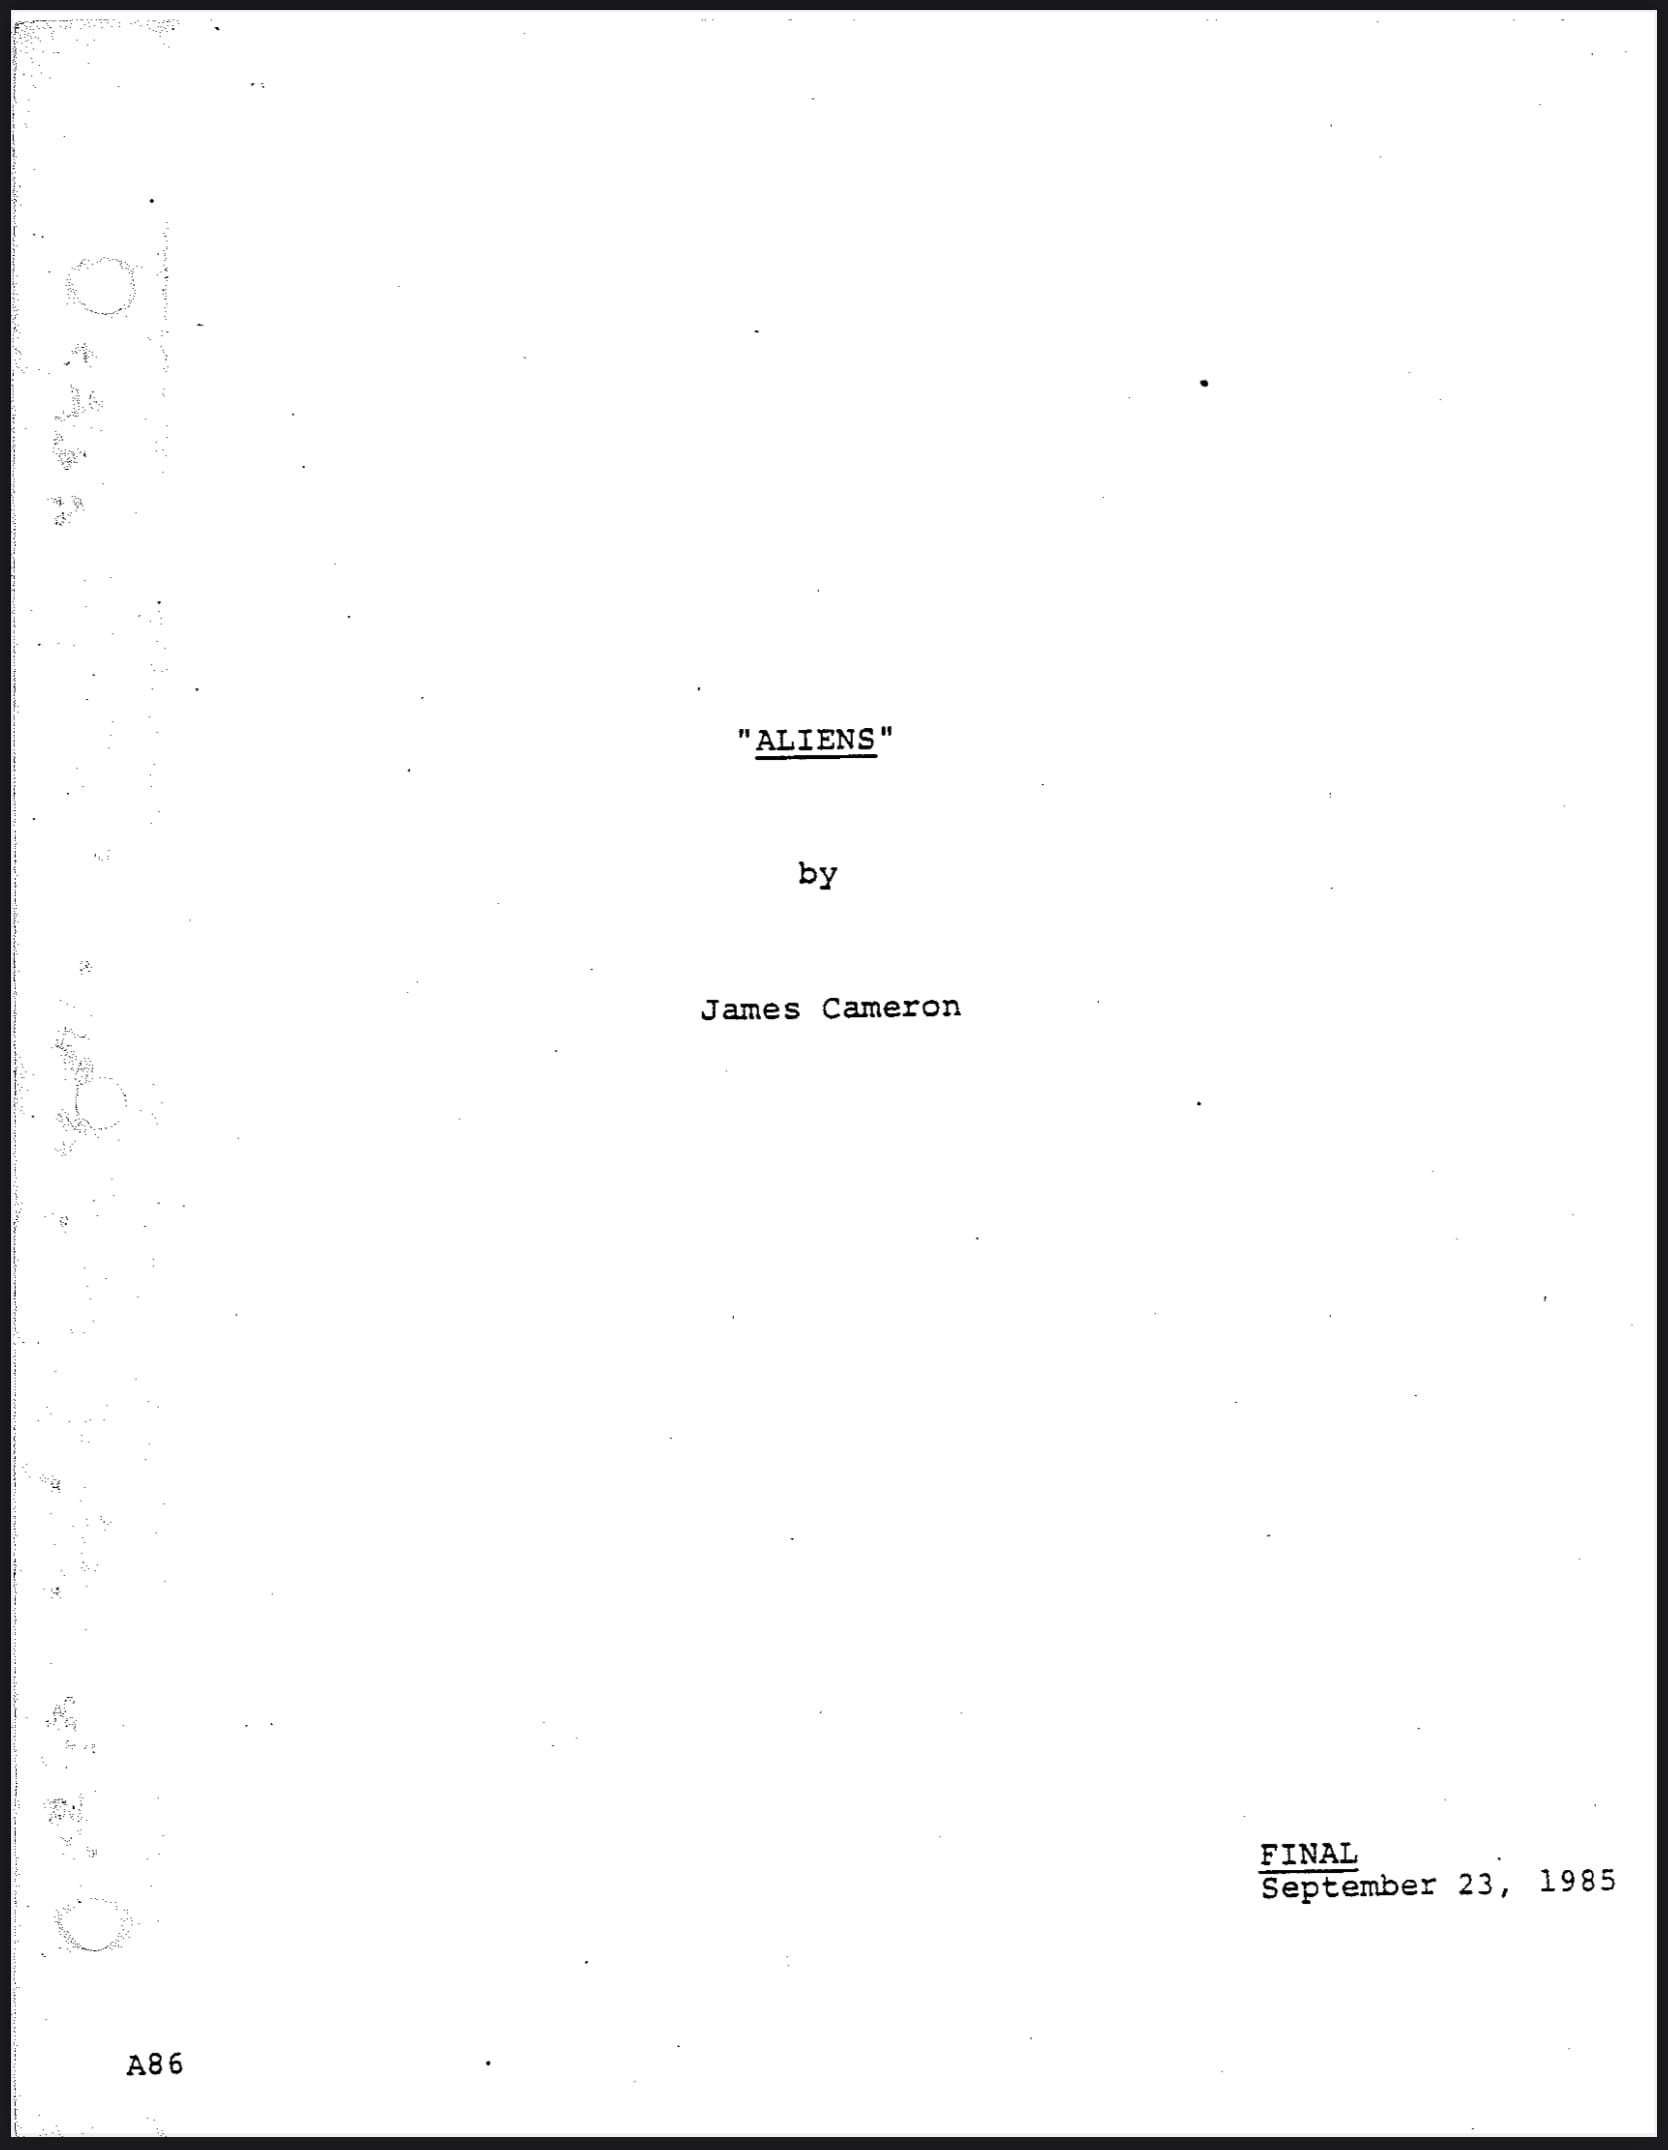
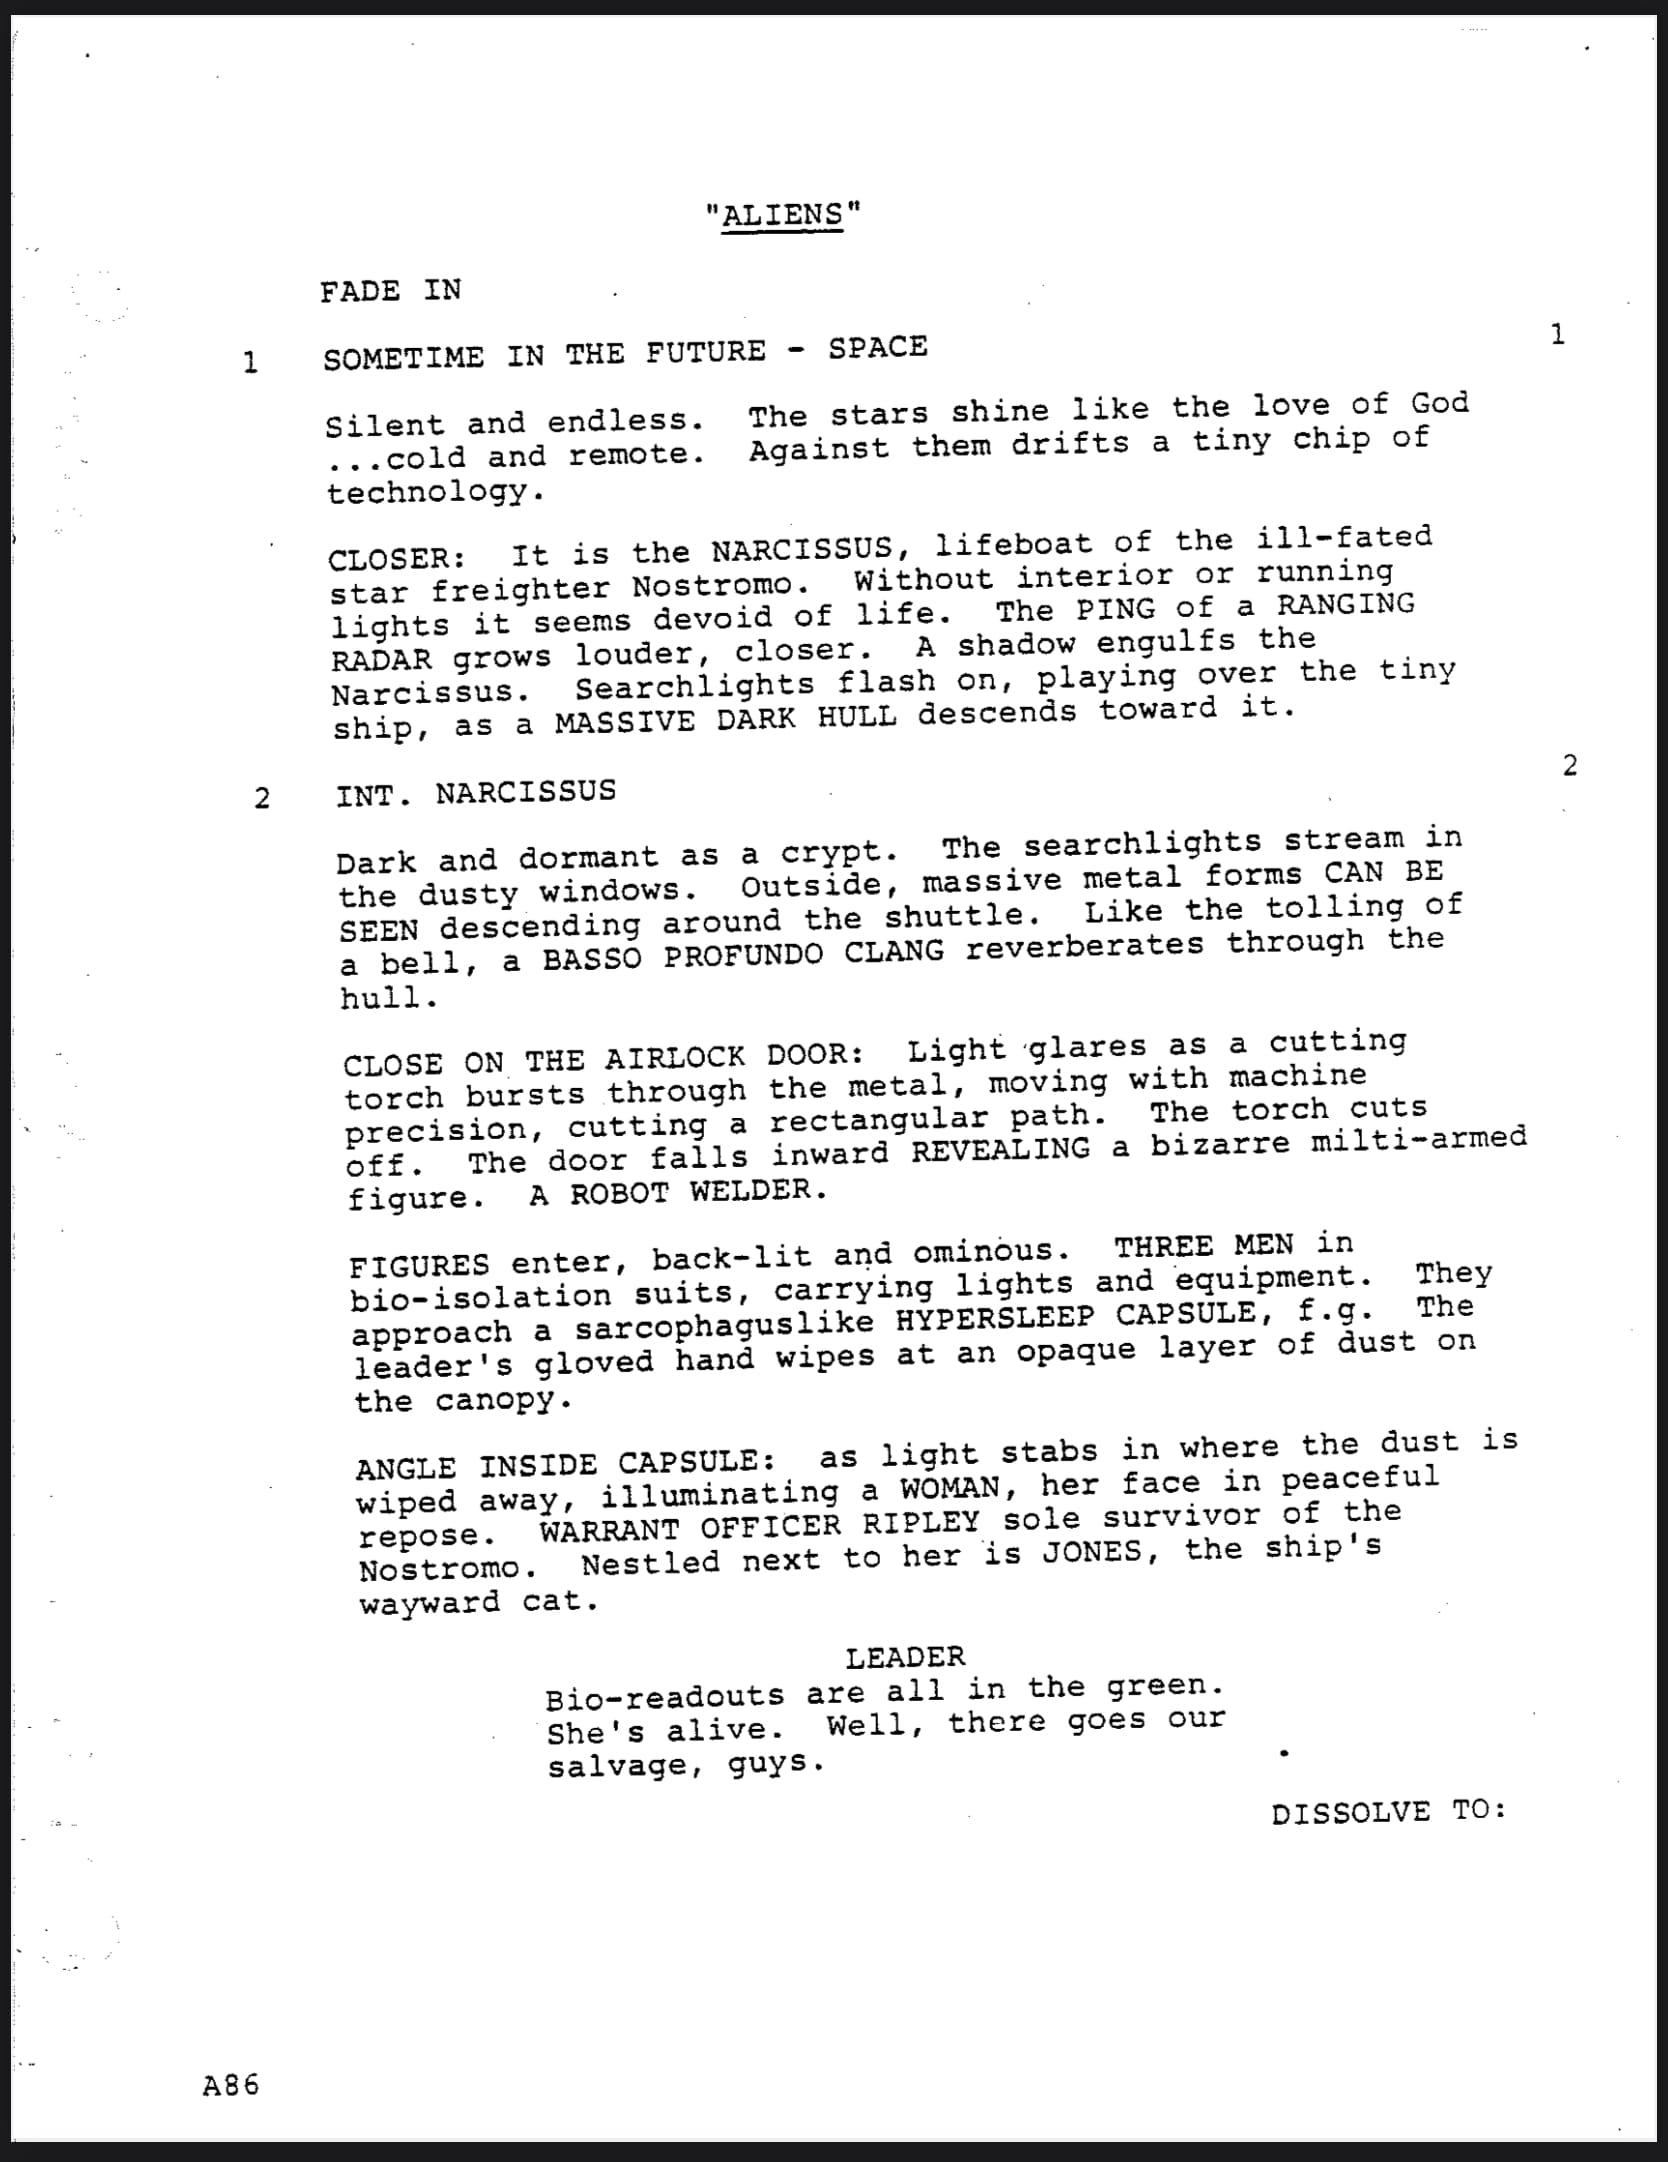
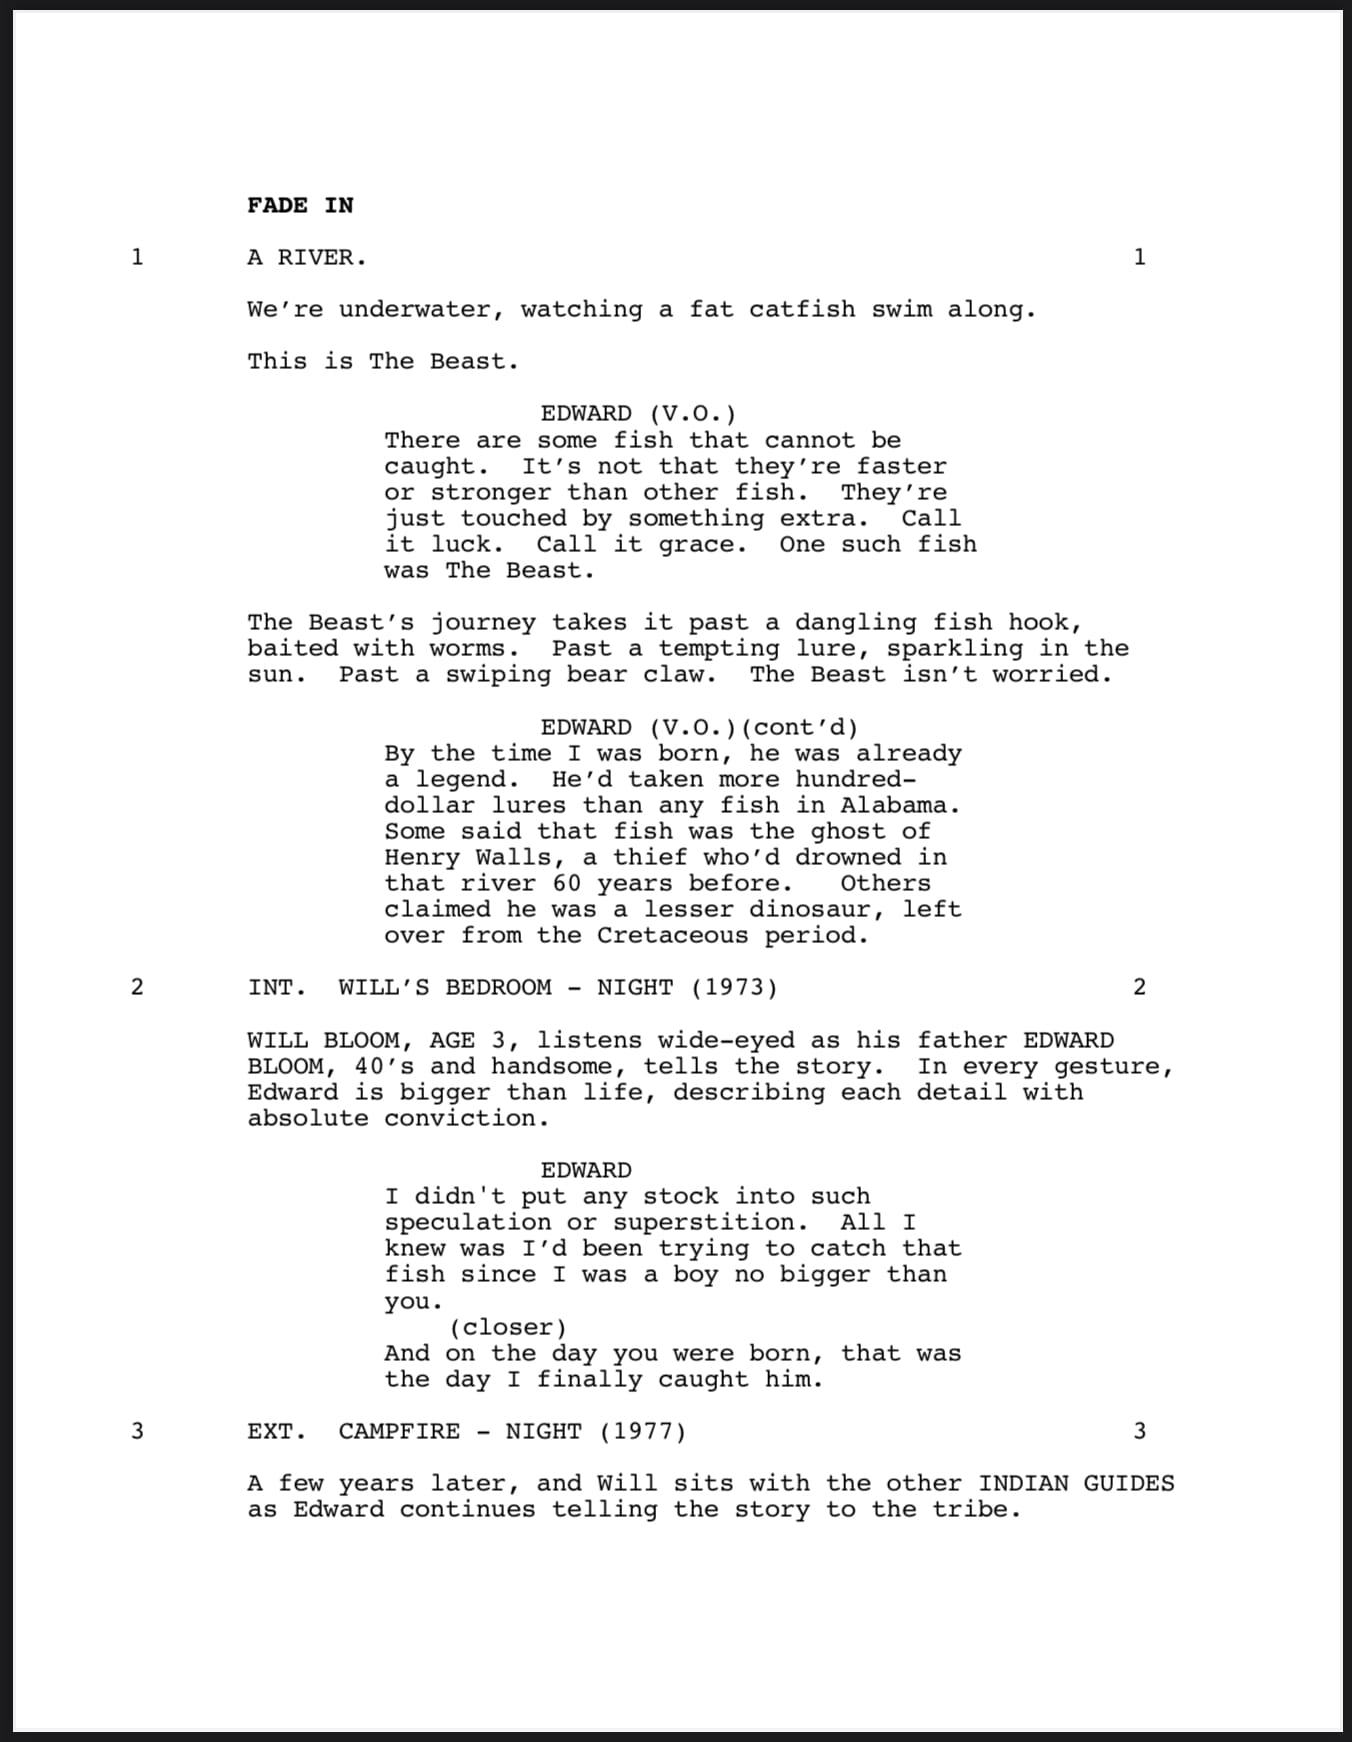
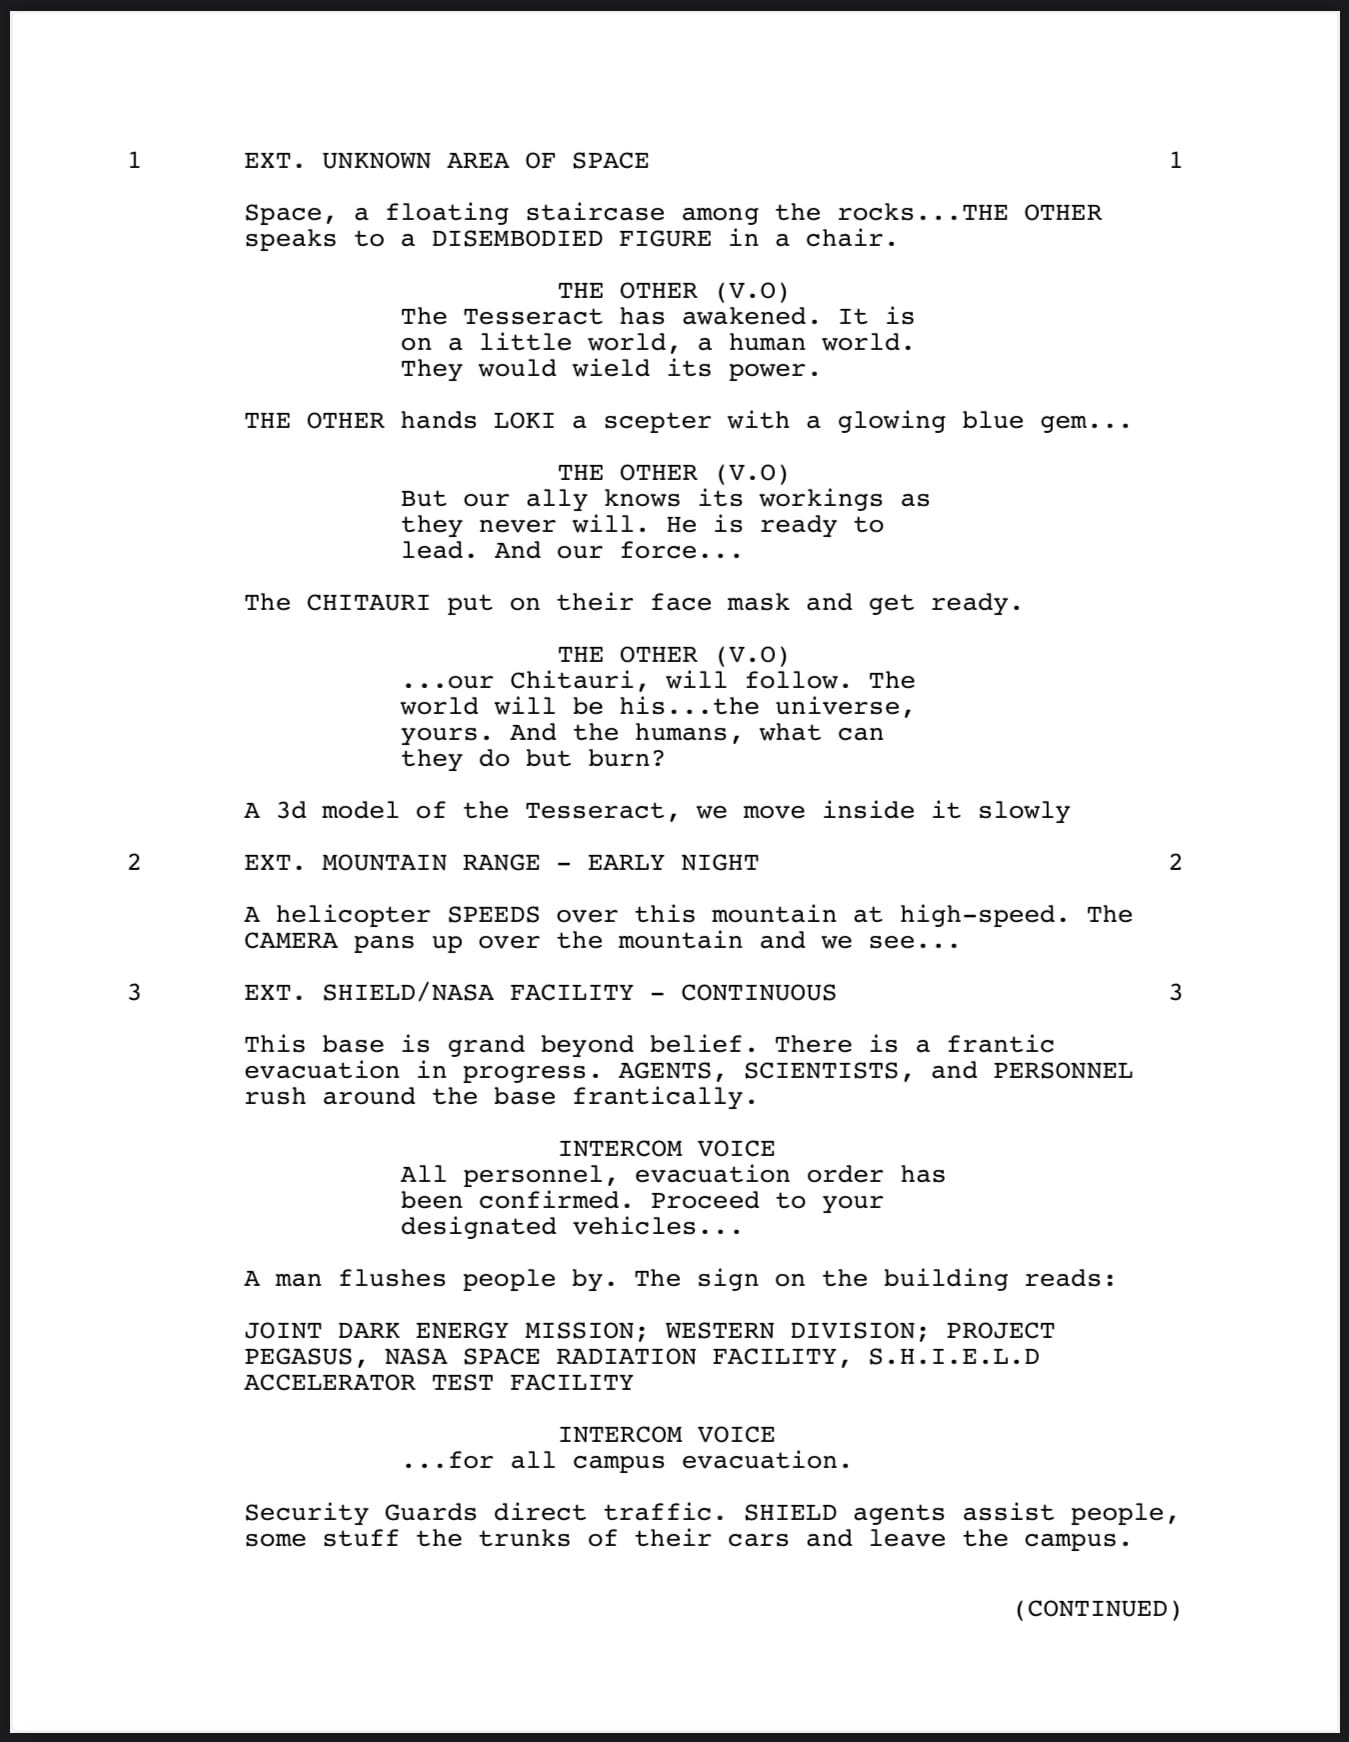
Notice how these professional scripts share some key characteristics:
- Clean, consistent formatting
- Generous white space (they're not crowded with text)
- Clear scene headings (the lines written in ALL CAPS. Also called sluglines)
- Concise action descriptions (what a character is doing)
- Properly formatted dialogue (what a character is saying)
Remember these important principles:
- Aim for simplicity and clarity. Don't over-write.
- Use white space effectively. Don't have large blocks of text.
- General rule: One page ≈ One minute of screen time.
You can find more screenplay examples at resources like:
Elements of a Screenplay
Five major elements comprise the construction of a screenplay:
- Scene headings (Slug Lines)
- Narrative descriptions
- Dialogue
- Cover page
- THE END
Let’s go through each one.
1) Scene Headings (or sluglines)
The first element is the scene heading, which is used whenever you introduce a new location or time.
They are composed of three essential pieces:
- The Camera location: INT. or EXT.
- The Scene location: CHUCK’S BEDROOM
- The Time of Day: DAY, NIGHT, LATER, or CONTINUOUS
Altogether, they will look something like this:
[CAMERA LOCATION]. [SCENE LOCATION] - [TIME OF DAY]
For example:
INT. CHUCK’S BEDROOM - DAY
Let’s examine each component in more detail.
Camera Location (EXT. or INT.)
Where is the camera located? Is it inside a building or outside? If your character is inside a space but you see them from the outside, this is how you would indicate it.
When it comes to forests and oceans, both are considered exterior since they are outside of a space. An interior would be a structure within that space, like a cottage or a submarine.
This doesn’t mean you are allowed to tell us where the camera is pointed at in the scene.
Scene Location
This part is an indicator for your cast and crew to know where the scene occurs.
Don’t use a description here. That will be included in the narrative descriptions later.
Time of Day
The primary options are DAY and NIGHT. They give crew members essential information about when a scene takes place.
However, some scripts will have other notations like MORNING, EVENING, and NOON. Still, unless specific information exists in the scene (for example, the sun rises), it is most likely irrelevant.
Two other options are:
- LATER - used when time has passed in the exact location
- CONTINUOUS - used when one scene leads immediately into the next. Think of a one-shot scene like the club in Goodfellas or the entire film of the military drama 1917.
If you are writing a scene in space, you don’t need to include the time of day.
As a student in my class, I want you to only use DAY, NIGHT, LATER, or CONTINUOUS. You may see other time designations like MORNING, DUSK, or DAWN in professional scripts, but remember that the primary goal is simply to indicate whether filming would occur in daylight or darkness.
In our next lesson, we'll explore special formatting techniques such as dream sequences, flashbacks, and other specialized elements that build upon these basic formatting principles.
2) Narrative Descriptions
The next element is narrative descriptions.
These contain actions, settings, characters, sounds, and transitions. Once you've introduced a location, always set the scene with a narrative description detailing any new locations and which characters are in the scene.
Open every scene with a narrative description, informing us who is in the scene and what they are doing.
Only write what you can see and hear in the narrative description. Never write thoughts, smells, or backstories. If it can't be filmed, it shouldn't be described. Make your script visual and auditory only.
When writing narrative descriptions, always work in active present tense.
On the first physical introduction of a character, write their name in UPPER CASE in the narrative description only. Never do this in dialogue. Once introduced, use standard capitalization for their proper names (i.e. Joe) and no capitalization on common nouns (i.e. the man).
Why capitalize? Capitalization helps production teams quickly identify:
- New characters when they first appear (for casting)
- Important SOUNDS that need audio design (like a GUNSHOT or EXPLOSION)
- Significant MOMENTS that deserve special attention (like a FLASHBACK or MONTAGE)
For example:
- JOHN SMITH, 30s, enters the room. He sits beside his mother.
- The DOORBELL RINGS. John jumps.
- CRASH! The vase shatters on the floor.
Do NOT capitalize:
- Non-speaking characters (like 'a waitress walks by')
- Regular props or objects (like 'he picks up the phone')
- Actions that aren't significant sounds (like 'he walks to the door')
Most importantly, use brevity. Use short descriptions and only three to four lines of action per paragraph. Remember, white space is essential; one page should equal about one minute of screen time.
3) Dialogue
The next element is dialogue. It is composed of four main parts:
- Character Cues - written in ALL CAPS and centred on the page.
- O.S. and V.O. - If a character is off-screen but in the scene, use (O.S.); if they aren’t, use (V.O.).
- Parentheticals (also called wrylies): These are located below the character cue and tell how a line is delivered (sarcastically, angrily, etc.). You are discouraged not to use these unless necessary. Like transitions and camera shots, they are directions that the cast and crew will ignore.
- Dialogue. Treat it like action and keep it short. Be sure to write clearly, not like a comic book (i.e. WHAAAAAAAT!?!) or with forced accents.
An example of dialogue might look like this:

Please notice how every scene leads with a narrative description, setting up the locations and characters within a scene before leading into the dialogue.
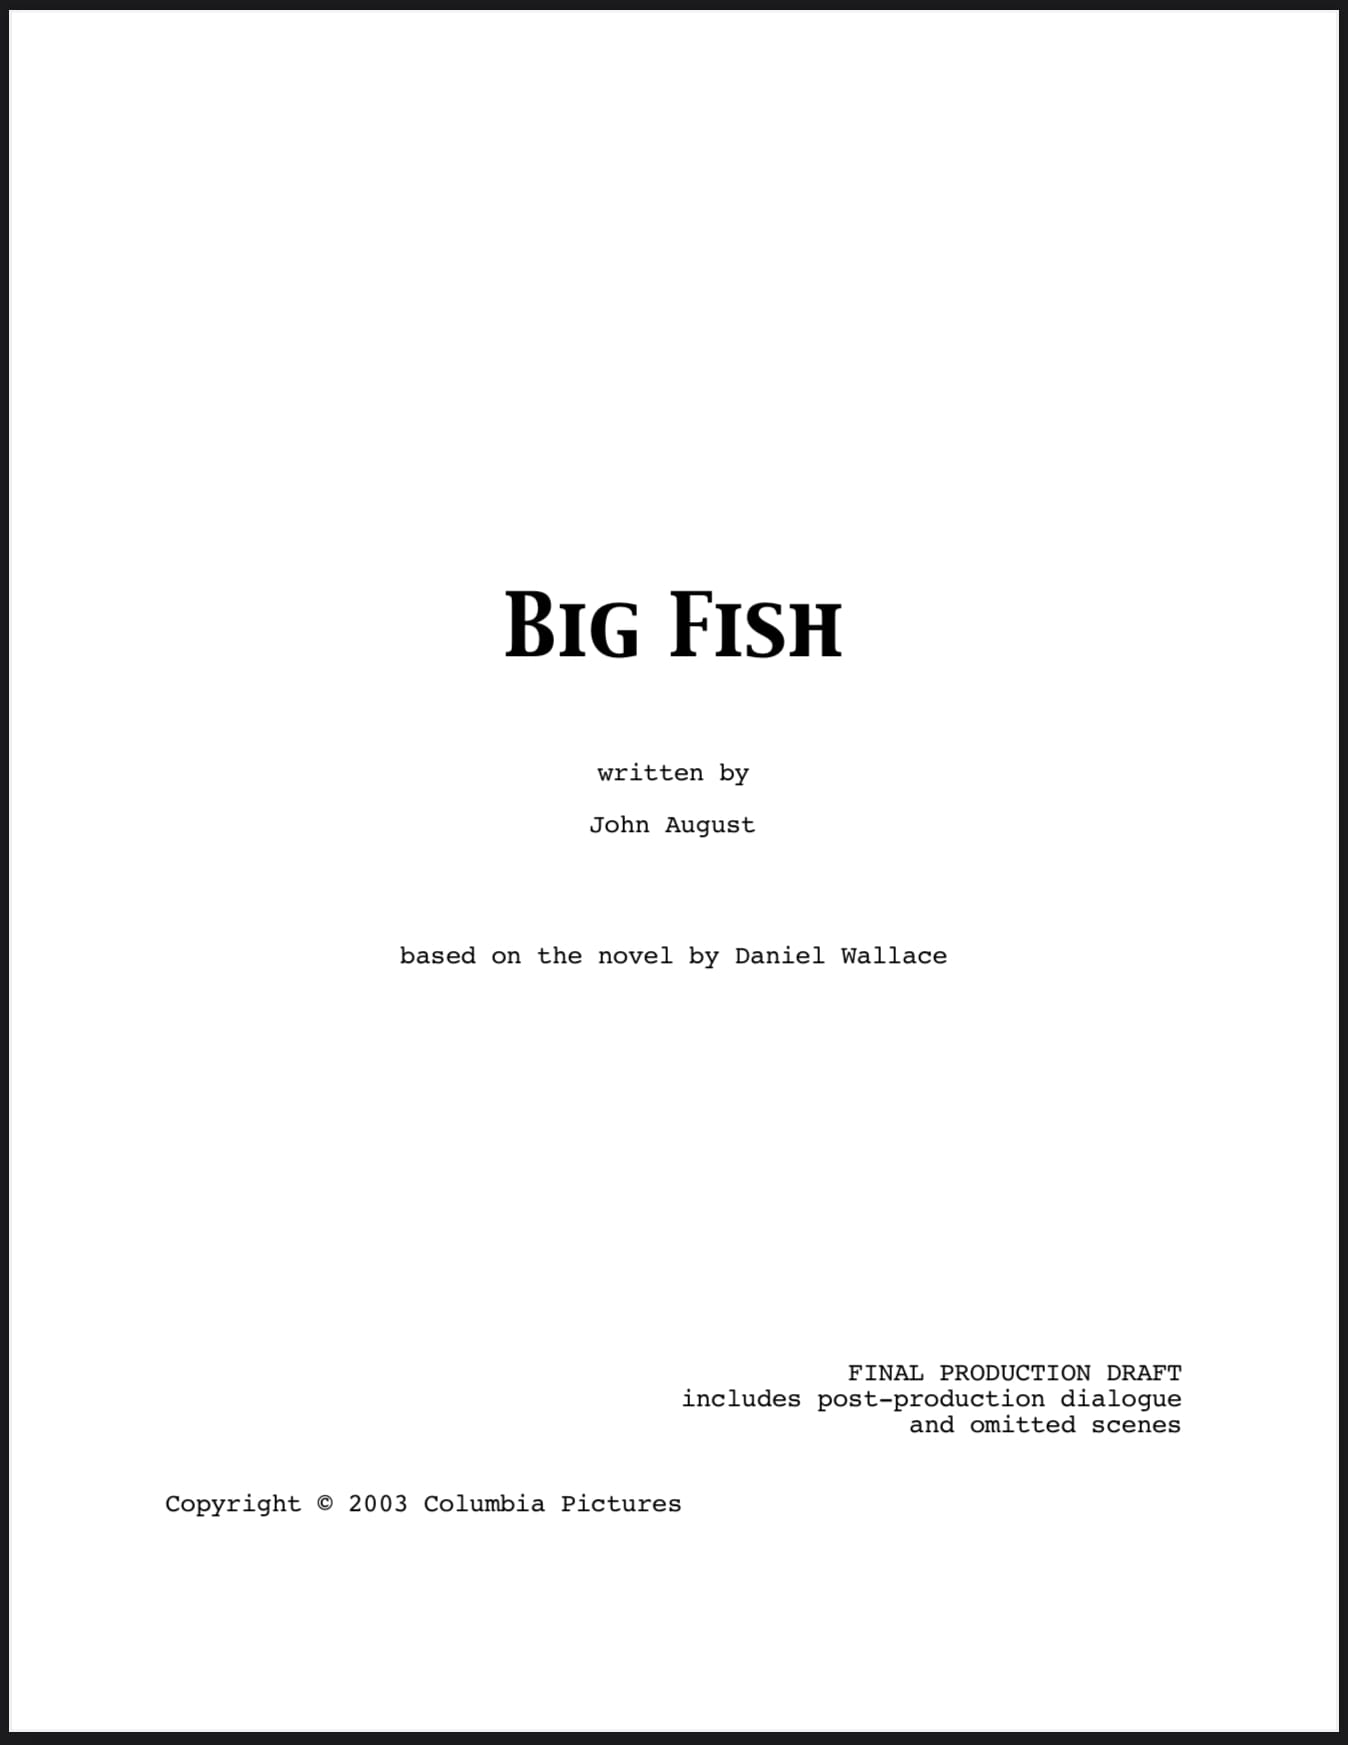
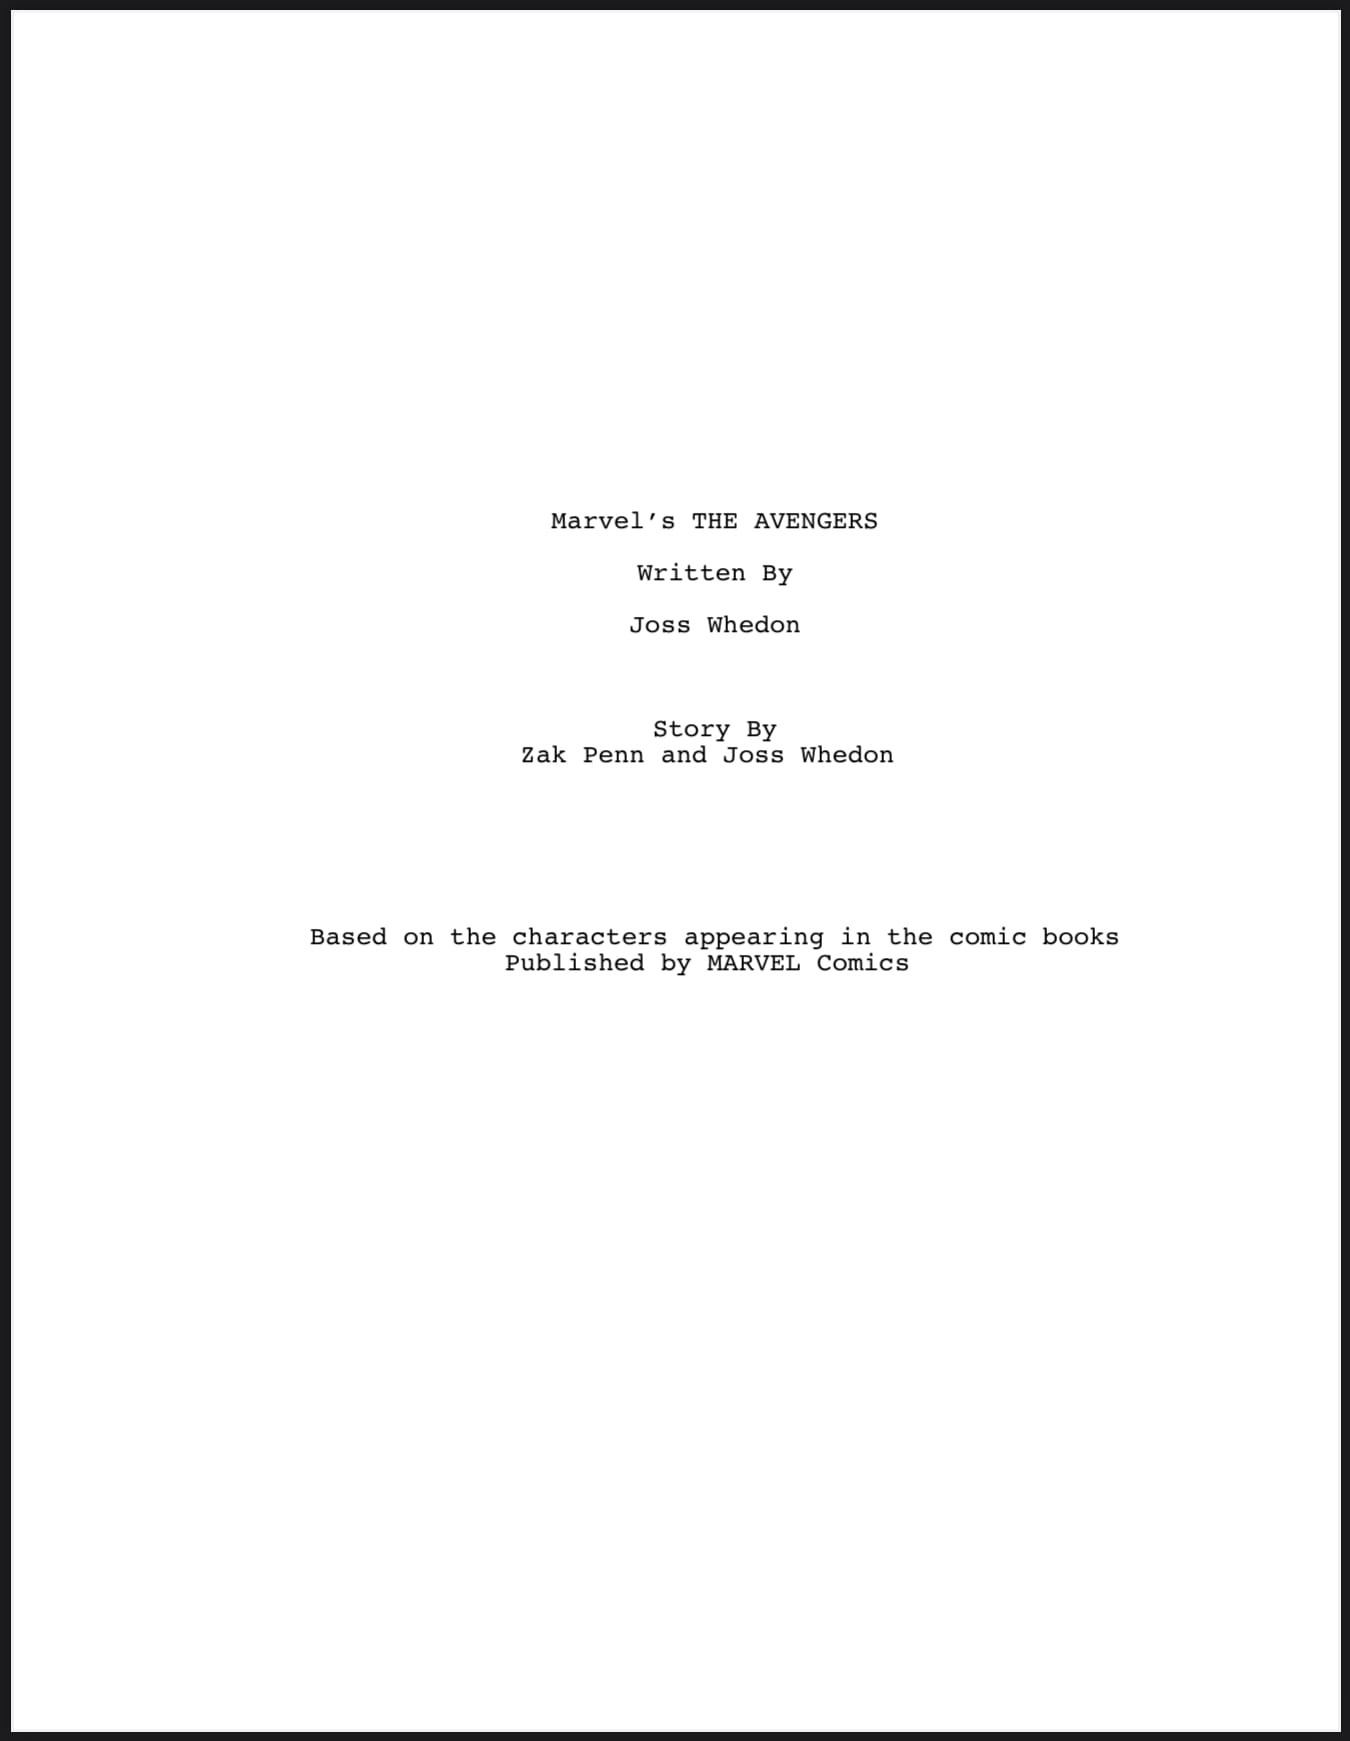
4) Cover Page
The next element is the cover page. Most writing programs will do the work for you, but make sure that you have all the pieces correct:
- Your title is CAPITALIZED.
- Your name is listed below it with the designation "Written by:"
- Your contact information is listed in the bottom corner (often right, but determined by your writing program).
- No DRAFT designations. This element is used for production and isn’t required for your initial script.

5) THE END
This final element is located at the end of your script and lets your reader know there are no more pages. Choose one of the following three choices:
- Right-aligned (like a transition): FADE OUT.
- Right-aligned: FADE TO BLACK.
- Centred: THE END.
Make sure it is written correctly.
Review: Key Formatting Principles
In this lesson, we've covered the fundamentals of screenplay formatting. Let's review the essential points:
Script Purpose:
- A script is a blueprint for production, not a novel or directing plan
- We're focusing on spec scripts to showcase your stories to the industry
Essential Elements:
- Scene headings with proper INT./EXT. designations and limited time options (DAY, NIGHT, LATER, CONTINUOUS)
- Narrative descriptions that are visual, brief, and in active present tense
- Dialogue with proper character cues and minimal parentheticals
- Professional cover page and clear ending
Writing Approach:
- Show only what can be seen and heard (no thoughts, smells, or backstories)
- Use CAPITALIZATION strategically for new characters and significant sounds/moments
- Keep descriptions brief (3-4 lines maximum per paragraph)
- Maintain generous white space throughout
- Let others do their jobs—focus on writing, not directing or editing
Remember, good formatting isn't just about following rules—it's about creating a clear, readable blueprint that allows your story to shine.